Getting Started with Cypress in React - E2E Testing
Start writing your own Cypress tests in React

Backend developer with strong experience in the .NET ecosystem and AWS. Other development skills include JavaScript/React/Vue, HTML, CSS.
By the end of this article, you will know how to start writing your own Cypress tests. My aim is to give you the minimum amount of information to get started. I believe the best way to learn is to get started as quickly as possible. When you get stuck, you can do more research, but only then will it be helpful because you have the relevant context.
What is Cypress?
Cypress is a front-end testing tool that enables you to easily write E2E tests that emulate a user interacting with your application.
If you want to know more, check out this article on benefits of using Cypress.
Who is this article for?
This article is aimed at someone who already has a good understanding of React, but wants to add E2E testing to their application.
As I mentioned above, my aim is to enable you to start using Cypress as quickly as possible. This article won't be an in-depth guide.
What is the project?
In a previous article, I build a todo list using TDD Unit Tests. In this article, I will take that project and add E2E tests using Cypress.
Here is a link to view the project.
Unit Tests vs End-to-End Testing
I personally use Cypress to write E2E tests, which allows me to test that all of the building blocks of an application work together. It is important that you use a combination of both Unit and E2E tests.
Unit Tests
A unit test in an application should test each individual building block of the application. When I say individual building blocks, this could include functions, classes or components.
If you have taken a TDD approach to building your application, then each building block should only have a single responsibility. It should be very easy to test each component.
Take a look at the method I have written below, called isEven(). The method simply returns true or false depending on whether the component is odd or even.
export default function isEven(value) {
  return value % 2 === 0;
}
To test this method, you could implement the following unit tests:
- Call method with odd numbers, expect
false - Call method with even numbers, expect
true
End-to-End Tests
E2E testing has a completely different purpose from unit testing. E2E testing is intended to test a user's interaction with the application.
For example, let's say we have a messing app. We want to test that a user can type a message and send it. In the E2E test, you could do the following:
- Simulate the user clicking on the input field
- Simulate the user typing out a message
- Simulate the user clicking the send button
- Assert that the message has now appeared to the user
- Assert that a request has been sent to
POST: /messages
When should I write E2E tests when using TDD?
My honest answer is I'm not sure. So far, I have two ideas.
The first idea is to write E2E tests first, then write unit tests. The problem with this approach is that you cannot immediately pass the E2E tests. You would need to write the unit tests, and then create the components to pass those tests. Only then would you be able to pass the E2E tests.
The second idea is to first write unit tests, and then write E2E tests. This approach would simplify the process because you could focus on individual components at a time. The downside to this approach is that you might need to change the implementation after writing the unit tests, meaning you would need to make further changes.
I have decided to go ahead with the second approach because I think it might over-complicate the process if I have to ensure both unit and E2E tests pass.
Setting up the environment
I strongly suggest you follow along by cloning the following repository. Everything is already set up, so you wouldn't need to waste time configuring the environment.
If you prefer to set up the project yourself, here are the steps to add cypress by running the following:
npm install --save-dev cypressoryarn add cypress --dev
In the file package.json, add the following script.
  "scripts": {
    ...
    "e2e": "cypress ruopen --browser chrome --e2e"

  },
Setting up Cypress
If you have cloned the repository, you can skip this section.
Run npm run e2e or yarn e2e. A new window should appear, and it will guide you through setting up Cypress in your project.
For this project, select 'E2E Testing'.
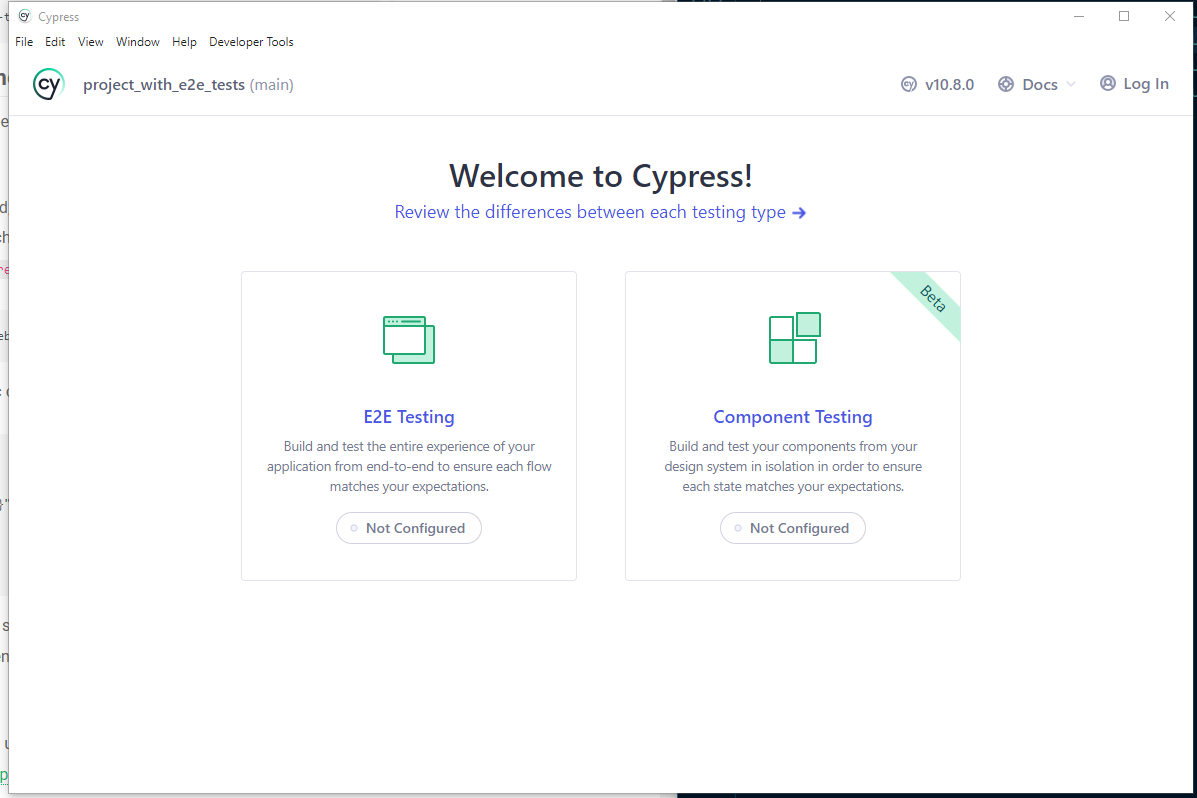
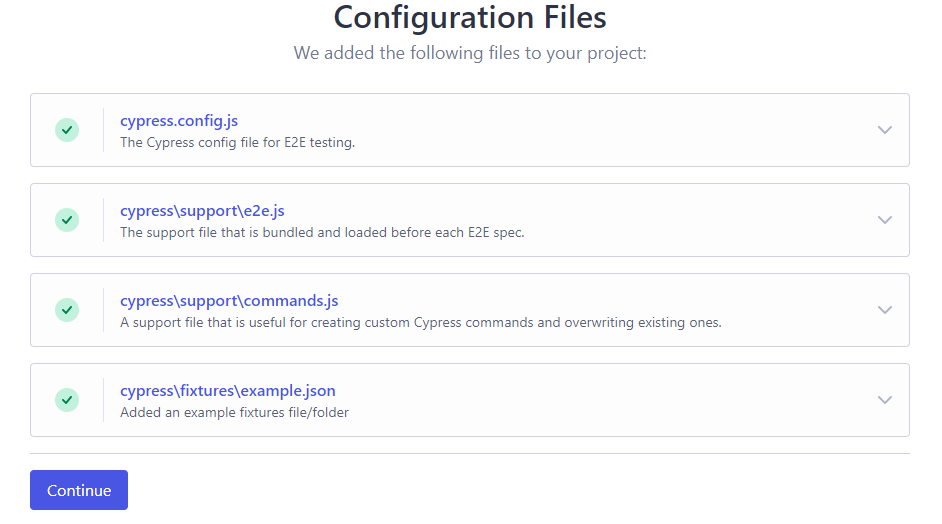
Then click 'Continue'.
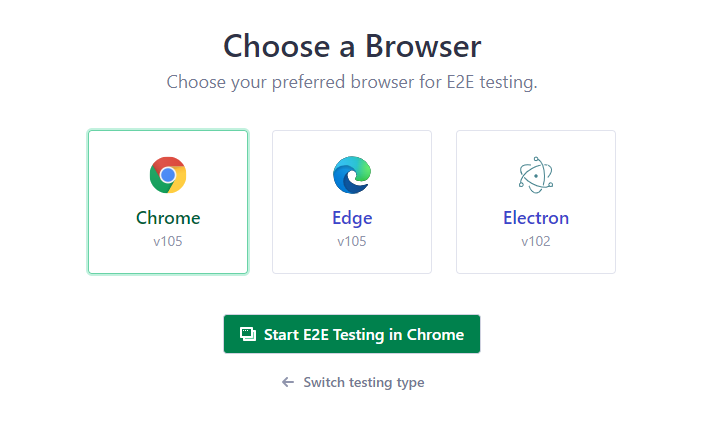
Next, select your preferred browser. I will use Chrome.
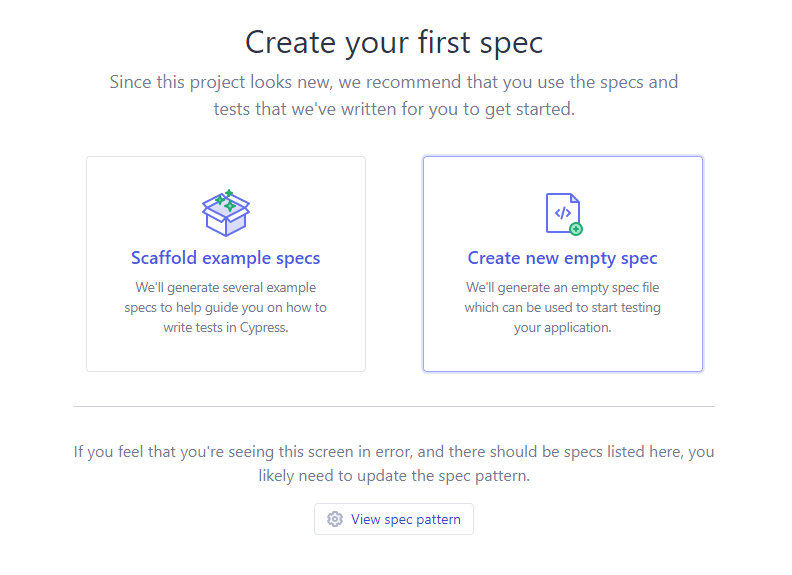
It can be helpful to scaffold example specs if you want some ideas. However, for this project, we will create a new empty spec.
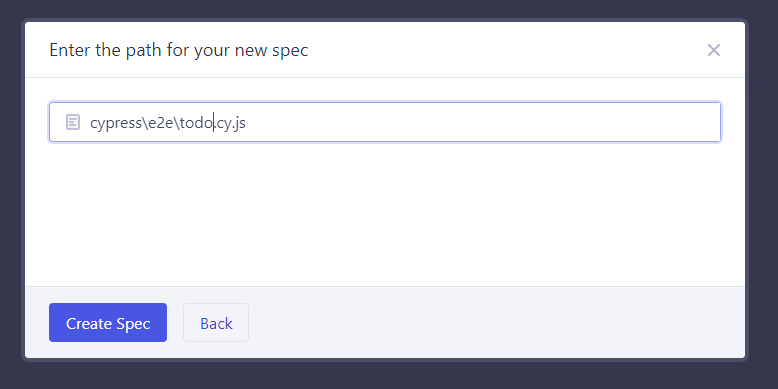
We can call the spec todo.cy.js. If the project was larger, you might name the spec in relation to what you're testing, such as the homepage, or login page. For this project, there is only a single page, to todo is fine.
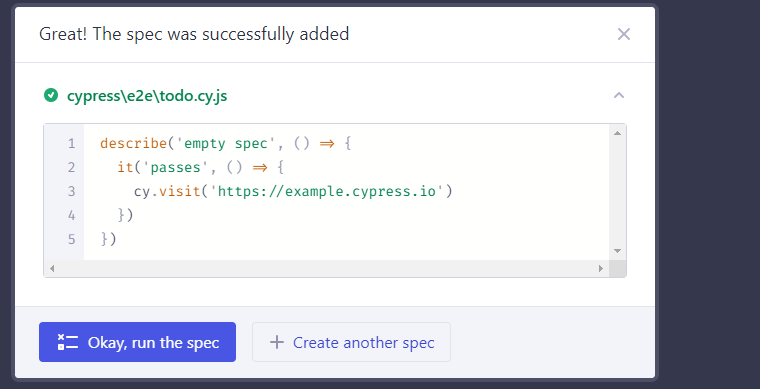
Then go ahead and run the spec.
Defining the project requirements
Before you can write any tests, you're going to need requirements. Otherwise, how would you know what you're testing?
- The user can add a new task to the list
- The user is alerted when they click the add button, but the input is empty
- The user can delete a task from the list
- The user can see a message when no tasks are on the list
- The user can toggle the completed checkbox for each task
Scaffolding the tests
Navigate to the file cypress/e2e/todo.cy.js. Below I have scaffolded the tests, including the steps that will be performed to pass the tests.
Notice how I have added the beforeEach hook at the top of the file. All tests within the spec will start by navigating to the homepage. Therefore, to reduce code duplication, I have added it to the beforeEach hook.
describe("todo", () => {
  beforeEach(() => {
    cy.visit("http://localhost:3000");
  });

  it("adds new task to list", () => {

  });

  it("displays an alert when the input is empty", () => {

  });

  it("deletes a task from the list", () => {

  });

  it("displays a message when no tasks are in the list", () => {

  });

  it("updates the checkbox field when clicked", () => {

  });
});
Setting up the test runner
To run the Cypress tests, you are going to need two separate terminal windows. In the first terminal, you need to run npm run start or yarn start. In the other terminal, you need to run npm run e2e or yarn e2e.
You should see the following window appear. You should select the spec todo.cy.js.
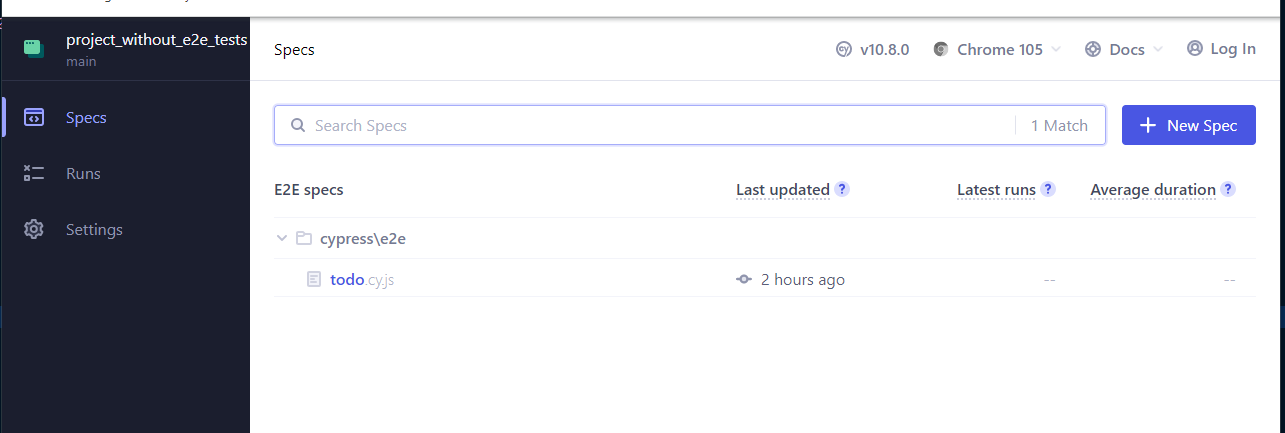
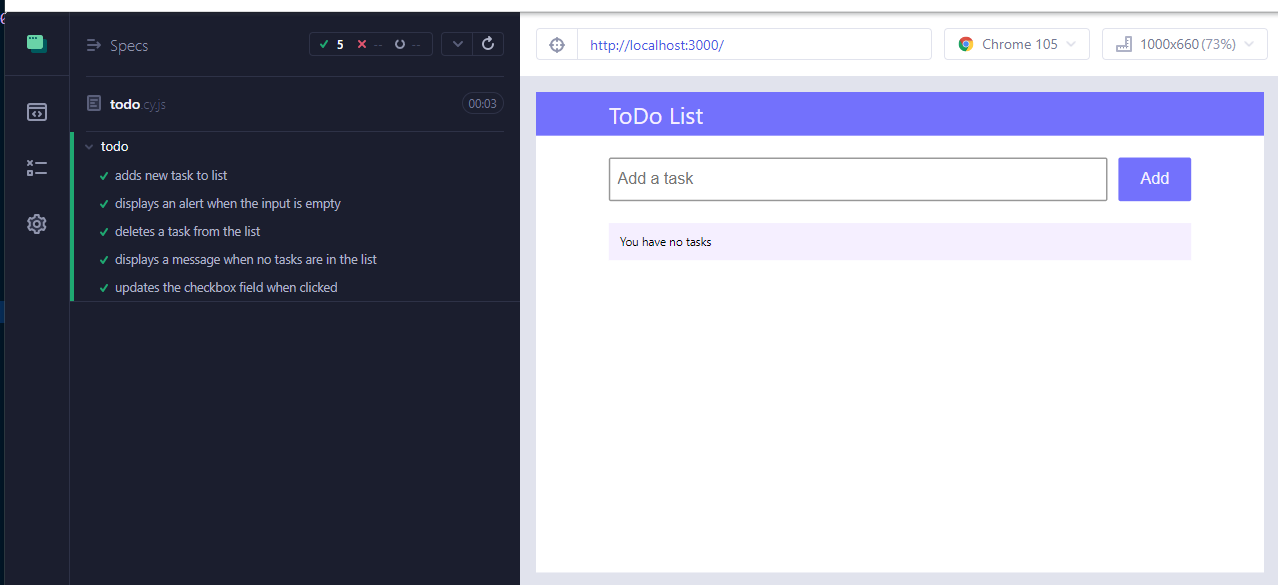
You should then navigate to a new page, and the test will start running. The tests will automatically rerun when a change is detected.
Mapping out the test
The first test has the description 'adds new task to list'. So the test should emulate how a user would add a task to the form.
While you're still learning how to write tests in Cypress, I usually find it easier to write out each step in the correct order. In the case of E2E testing, you would need to map out the steps that the user needs to make. Below I have mapped out the steps for the test.
  it("adds new task to list", () => {
    // 1. Type taskName in the input field
    // 2. Click the 'add' button
    // 3. Assert that the list contains a task with the new description
    // 4. Assert that the input field is empty
  });
Try it yourself first
Before you read my implementation, I would highly recommend that you try to implement the test yourself. Have a read through the Cypress API documentation and look for the following methods:
Also, I highly recommend that you use Data Attributes as selectors, instead of classes or ids. The main benefit is that data sectors are unlikely to change, unlike classes or ids. You don't want tests breaking because you have changed a class. You can use the following selectors throughout the tests
data-test="task-value"data-test="add-task-input"data-test="add-task-button"data-test="delete-task-button"data-test="task-checkbox"data-test="taskList-no-tasks"
My implementation
  it("adds new task to list", () => {

    const taskDescription = "Task description";

    // 1. Type taskName in the input field
    cy.get('[data-test="add-task-input"]').type(taskDescription);

    // 2. Click the 'add' button
    cy.get('[data-test="add-task-button"]').click();

    // 3. Assert that the list contains a task with the new description
    cy.get('[data-test="task-value"]').first().contains(taskDescription);

    // 4. Assert that the input field is empty
    cy.get('[data-test="add-task-input"]').should("have.value", "");
  });
The tests should pass
Because I had already written unit tests for the application, everything already worked. However, it is expected that most of the time, the tests will fail initially.
If the tests do fail, you must get the tests to work before writing the next test, otherwise, you might get overwhelmed. TDD is after all about building features efficiently.
Writing out the remaining tests
So far, we have written one of the E2E tests, but there are another 4 to complete. In the repository, you can view the remaining tests in the directory project_without_e2e_tests/cypress/e2e/todo.cy.js.
If you do get stuck, the directoryproject_with_e2e_tests/ contains all of the working tests.
Next steps
Hopefully, now you have enough understanding of E2E testing with Cypress to start writing your own tests. I strongly suggest you set up your own project and use what you have learned. You're not going to learn anything unless you use it.